
McNeel Europe the company behind the Rhino and Grasshopper software tools have recently released a new tool called Rhino.Inside. This tool brings the power and flexibility of Rhino/Grasshopper inside other software such as Revit. We at GS Arch use Revit on a daily basis and so I created a PPT to show my colleagues what this new tool can add to the Revit universe.
This article is a summary of the PPT I presented to my colleagues. The group I presented to was composed of a mix of roles, experiences and professions thus in my presentation I tried to cover all bases from the bottom up.
To begin to explain to someone what Rhino.Inside is you must first explain what Rhino is. I think a good way to start this is to compare it to another popular tool for Architectural concept design, that being Sketchup. In the SketchUp logo (below) you can see sharp edges and flat surfaces, this is the style of geometry you can most easily create using that tool. Whereas the Rhino3D logo (below) has smooth corners and complex, curving surfaces. In Rhino it is more easy to create these complex organic shapes. But it is worth pointing out Rhino is also a great tool for creating the regular orthogonal geometry created in SketchUp.

Below are 3 videos showing Rhino3D being used to create prototypes of some exciting contemporary architecture.
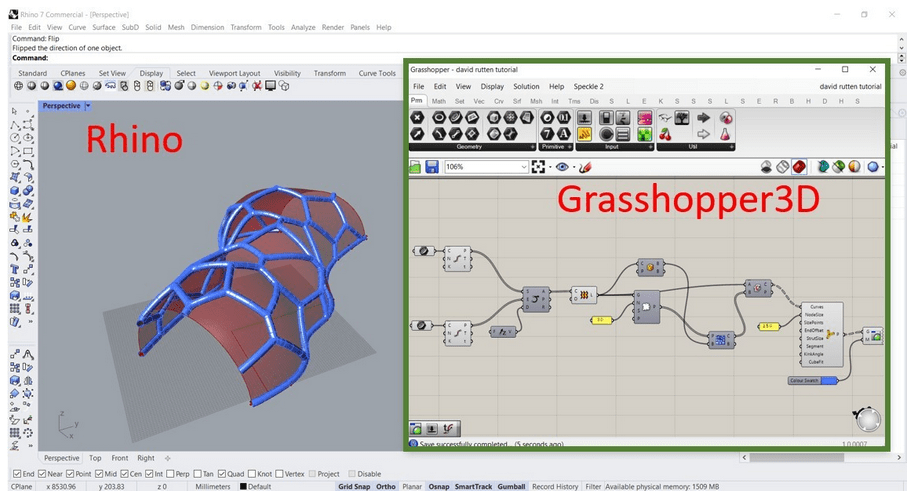
As we have seen above the potential of Rhino3D to create exciting interesting architecture is very great but it can be further expanded by the Grasshopper3D built-in tool. Grasshopper3D is a visual programming language that can used to create geometry parametrically inside Rhino. There are other tools similar to Grasshopper such as DynamoBIM(Autodesk), Marionette(Vectorworks), GeometryNodes(Blender) and GenerativeComponents(AECOsim).
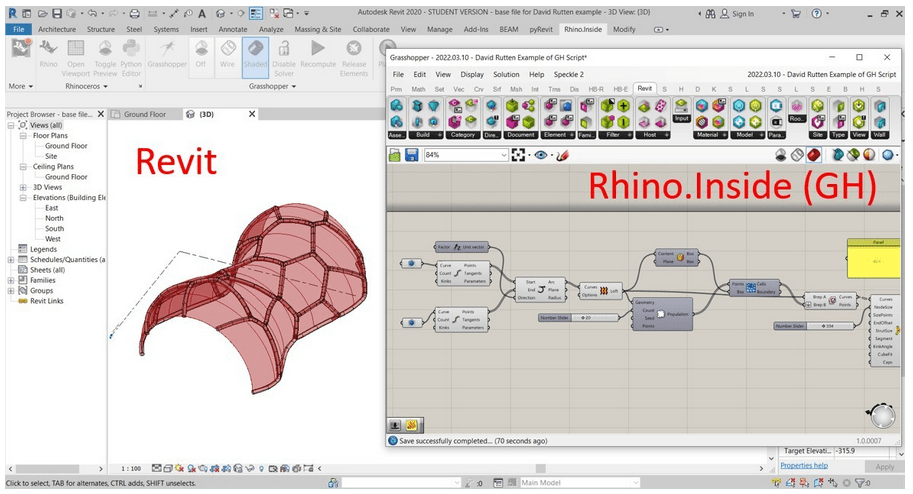
The new exciting innovation and the reason for this article is the Rhino.Inside tool. This new tool brings the power of Rhino and Grasshopper inside Revit. There are other tools such as BEAM (MKSDTech.com) and Conveyor (ProvingGround.io) that bridge these two worlds excellently. Below is a video showing how Rhino.Inside can also bridge the gap between Rhino and Revit in a very useful and powerful way.
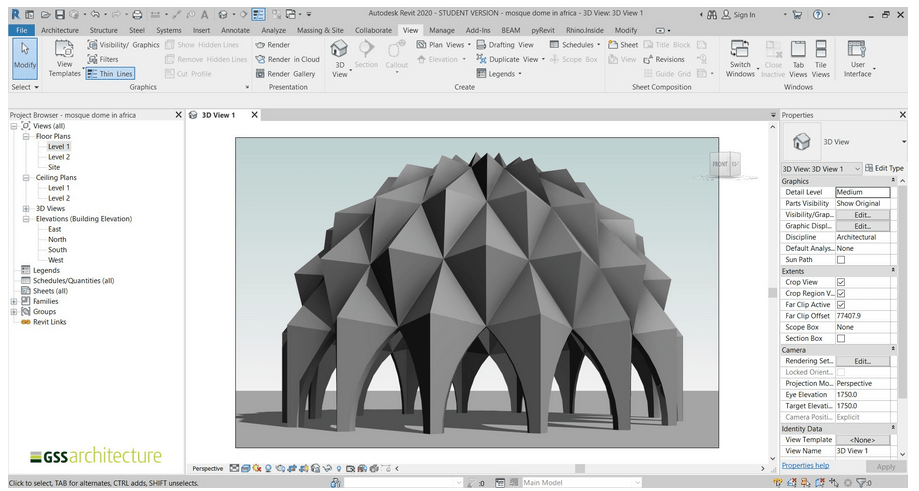
Now lets take a look at a realistic building example, I have used Rhino.Inside to create the major building elements. First I will create a domed roof using adaptive components and then I will create the feature structure elements and an office tower. Everything in the Revit model shown below was generated from Rhino.Inside Grasshopper Scripts.
There are many advantages of working with these tools. Such has being able to reuse and improve workflows. They also give you greater control over the parameters of the geometry you create. But one obvious advantage of these tools is to make changes and variations quicker and easier. In this last video I have demonstrated how you can change a round tower into square tower and still generating all the elements from the script.
I had a comment from one of the attendees of CPD that I believe is key to this product “a lot of buildings over the last few years have been constrained by Revit capabilities, this tool frees the design from that”.
To finish off below are some images showing a glimpse at the potential of these tools.


Please comment below your thoughts on this new tool.
#Rhino.Inside(Revit) #Grasshopper #Rhino #Revit
